Using Groups and Tags to organise your library
Make your references easier to find, manage and use by organising them into groups.
About Groups
EndNote allows you to group references into customised Groups, Group Sets, or Smart Group sections. A maximum of 500 Group Sets per Library is permitted.
Break your research into major Group Sets and customise Groups within these, e.g.
Fish
Freshwater fish
Marine fish
Customise the name for, e.g. Chapter 1, Chapter 2, specific sub topics, or keep groups for separate research papers or topics in a project, e.g. Psyc 486, PHIL 490. The side bar shows All References which is your entire library.
Create a New Group and Add References to it:
- From the Groups menu select Create Group OR right-click My Groups in the left bar and select Create Group
- Type the new group name then click <Enter>. e.g. Chapter 1. The new group contains no references yet
- Click on All References to return to your entire library
- Select two References by highlighting them. Use your CTRL key if they are side by side, or positioned apart in the list
- Go to Groups>Add References to>Chapter 1, OR drag and drop the selected References in the new group
Group Sets
- From the Groups menu select Create Group Set, OR right-click My Groups in the left bar and select Create Group Set
- Type the new Group Set heading name then <Enter>, e.g. Fish. You cannot add references to a Group Set so create Groups within each Group Set
- Highlight the Group Set heading then go to Groups> select Create Group, OR right click the Group Set name>select Create Group
- Name the new Group then <Enter> - the new Group contains no references yet
- Click on All References to return to your entire library
- Select two sample References by highlighting them. Use your Command key if they are side by side, or positioned apart in the list
- Go to Groups>Add References to>Freshwater Fish, OR drag and drop the selected References in the new Group
Smart Groups
Smart groups are created to build subsets of references automatically based on the searches you set up previously. Use the new Search tab in the lower pane. They are dynamically updated as references are added, deleted or edited in the library.
- Select All References. Go to Groups>Create Smart Group
- Name the new Smart Group then enter search terms - <Create>
- Confirm the results then they are automatically saved in the newly named Smart Group for later analysis and reference.
Document Auto-Group
- Open your EndNote library.
- Open your Word document.
- In Word, Click: Update Citations and Bibliography
- The document auto-group will then appear in your EndNote library and list all the references you have used in the Word document.
You can use this to figure out which references you are using in your document, that you should double check/clean up.
Note that the document auto-group is temporary and disappears each time you close your document.
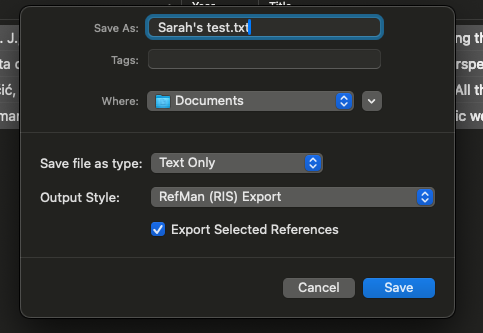
Exporting Groups
- Navigate to the group you want to export
- Select all the items in the group (Cntrl-A PC, Cmd-A Mac)

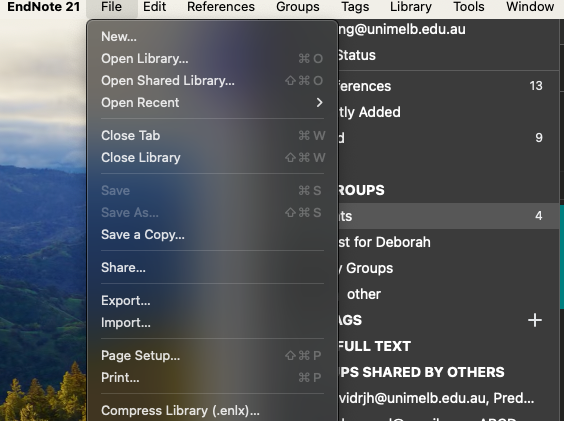
- Go to File - Export
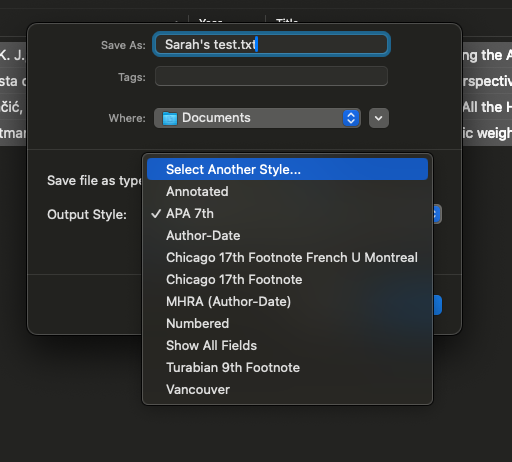
- Name the file
- Select the destination for the file
- Select RIS as the output style
- Click on the pull down menu
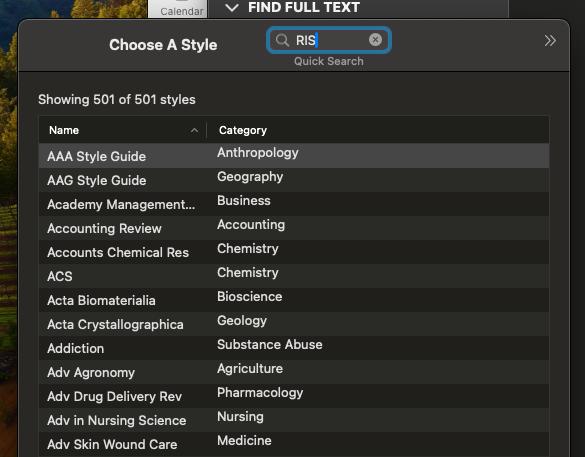
- Choose Select another style...
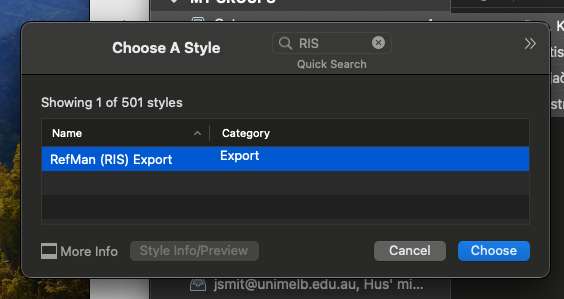
- type RIS in the Choose A Style search box
- Hit Enter
- Select RefMan (RIS) Export, click choose
- Save
Sharing Groups
If you want to collaborate, or share your references with other researchers, you can share a group.
To share a group:
- Create a group for the records you want to share
- Add the records
- Right click on the group and select Share Group...
- Enter the email addresses of the people you want to share the group with
- Select the permission level you want to give them (Read and write or read only).
- Click Invite
Using Tags
Tagging your references
Tags are customisable labels for organising your references as an alternative to or in conjunction with using Groups.
You can add tags to references and customise the colour and name of the tags. You can add multiple tags to a reference and anyone who you share your library with can view a tag.
7 colours are available for your library tags, which appear next to the title of the article in the central pane. Hover over the coloured tag for a reference to see the names of the tags. You can have more than one tag with the same colour.
To create a tag:
- From the Tags menu, select Create Tag, or click on the + sign next to My Tags in the left hand pane.
- Create a name for your tag and select a colour, then click on Create tag. The tag appears under 'My Tags' in the left hand pane.
To assign tags to references:
- Select the reference(s) you wish to tag, using the Ctrl key to select more than one, and drag onto the appropriate tag in the left hand menu. Alternatively, right click on the selected reference(s) in the central pane and select Manage Tags. For a single reference, you can also scroll to the bottom of the reference information in the 'Summary' tab in the right hand pane and click on Manage Tags.
- Select from existing tags, or click on Create tag to create and assign a new tag.
Removing tags from a reference:
There are several alternative ways to remove a tag from a reference:
- Click on the tag in the left hand pane to display references with that tag. Select the references for which you wish to remove the tag and press the delete key. The reference will not be deleted from your library.
- Right click on the reference in the central pane and select Manage Tags. Click on the cross X beside a current tag to remove a tag.
- Scroll to the bottom of the reference information in the 'Summary' tab in the right hand pane and click on click on the cross X beside the tag you wish to remove.